
Steps to Waterproofing a Roof
Waterproofing your roof is an essential measure for maintaining the integrity and safety of your home.
This detailed guide will provide you with step-by-step instructions on how to effectively waterproof your roof, ensuring it remains robust and leak-free throughout all seasons.
If you need immediate roof waterproofing services, please contact the experts at LOA Construction today!
Request an Appointment
1. Remove Any Dead Leaves & Debris from Your Roof
Waterproofing a roof begins with the basic, yet vital task of clearing your roof of any dead leaves and debris. These materials can trap moisture, leading to mold and mildew. This moisture can eventually seep into the roofing material, causing it to rot and deteriorate. Regularly cleaning your roof is crucial, not only for prolonging its lifespan but also for preventing water from pooling in certain areas.
Additionally, when debris accumulates, it can clog gutters and downspouts. This blockage prevents proper drainage, causing water to back up and potentially seep under roofing materials.
Regular inspections, especially after storms or high winds, can help identify and remove debris before it becomes a problem. This step is a simple yet effective method for waterproofing your roof and should never be overlooked.
2. Trim Overhanging Tree Branches
Overhanging tree branches can pose a significant threat to the waterproof integrity of your roof. Not only can they physically damage the roof by scraping against shingles and dislodging them, but they also contribute to the accumulation of debris.
Regular trimming of these branches is essential to minimize the risk of physical damage and to keep the roof clear of organic material that can hold moisture against the roof surface.
In the event of a storm, overhanging branches can break and fall onto the roof, causing significant damage. By keeping trees well-trimmed and away from your roof, you can significantly reduce the risk of punctures or other damage that can compromise the roof's ability to repel water.
This preventive measure is a key step in ensuring the longevity and effectiveness of your roof’s waterproofing. For significant tree trimming, you may need to contact a tree service, or check with your local roofing company for advice on handle a tree that’s very close to and possibly posing a risk to your roof.
3. Replace Missing or Damaged Shingles
Shingles are your roof’s first line of defense against the elements, and their integrity is vital for effective waterproofing. Regular inspections are vital to identify any shingles that are missing, cracked, or otherwise damaged.
Compromised shingles can allow water to seep through and damage the underlying roofing structure. Replacing them promptly is not just a matter of maintenance; it's a critical component of your roof’s waterproofing strategy.
In addition to replacing damaged shingles, it’s also important to consider the age and overall condition of your roofing material. Over time, shingles can lose their waterproofing properties due to exposure to the elements. In such cases, it might be prudent to consider a complete roof replacement, especially if repairs are becoming frequent.
Consulting with a roofing professional can provide guidance on whether repair or replacement is the most effective solution for maintaining your roof’s waterproofing integrity.
4. Apply Seam Tape to Prevent Water Seepage
The application of seam tape is a crucial step in waterproofing the most vulnerable areas of your roof, such as seams, joints, and edges. These areas are prone to leaks as they are where different sections of the roof meet and are often less protected than the main expanse of the roof.
Seam tape acts as an additional barrier, sealing these critical junctions and preventing water from penetrating the roof structure. Applying seam tape requires attention to detail and precision. It’s important to ensure that the tape adheres well to the roofing material and covers the seams entirely.
For best results, consider hiring a professional who can ensure that the tape is applied correctly and uniformly. This step is particularly important in areas with heavy rainfall or snow, where the risk of water seepage is higher.
Read More: Is Your Roof Leaking by a Vent Pipe?
5. Use Heat Tape on Gutters and Roof
In regions where snow and ice are common, using heat tape in gutters and along the roof can be a game-changer. Ice dams, which form when snow melts and refreezes at the roof's edge, can create significant problems.
They prevent proper water drainage, forcing water to back up under the shingles and potentially into the home. Heat tape prevents these ice dams by maintaining a consistent temperature, ensuring that melted snow flows freely away from the roof.
The installation of heat tape requires careful planning to ensure it covers the necessary areas and is installed safely. It’s important to follow manufacturer instructions or consult a professional to avoid any potential fire hazards.
By keeping ice dams at bay, heat tape plays a crucial role in maintaining the effectiveness of your roof’s waterproofing throughout the winter months.

6. Check with a Roofer or General Contractor About Installing Better Insulation
Proper insulation is a critical yet often overlooked aspect of roof waterproofing. Good insulation helps regulate the temperature within the attic and roof, preventing problems like ice dams and condensation, which can lead to water damage.
Insufficient insulation can allow heat to escape, melting snow on the roof and contributing to ice dam formation. Moreover, during warmer months, proper insulation prevents excessive heat buildup, which can also damage roofing materials and reduce their effectiveness in waterproofing.
Consulting with a professional roofer or general contractor is the best way to determine if your insulation is adequate. They can assess your current insulation and recommend improvements or replacements if necessary.
Upgrading your insulation not only contributes to roof waterproofing but can also improve energy efficiency and reduce heating and cooling costs.
7. Ensure Your Roofer Has Installed a Water Repellent Layer
Sometimes cheap roofing contractors may skip the important, but vital step of installing the water repellent layer on your roof. As such, make sure that this part of the roof is included in the installment, just beneath the shingles.
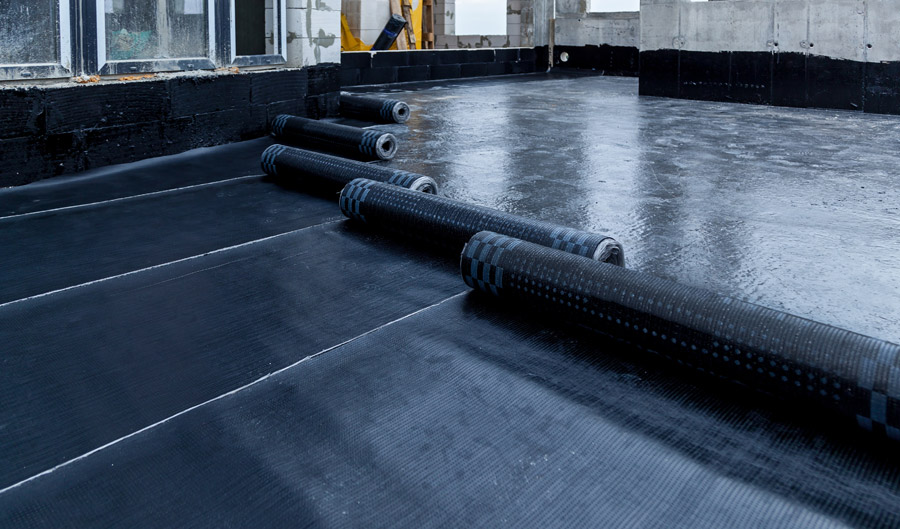
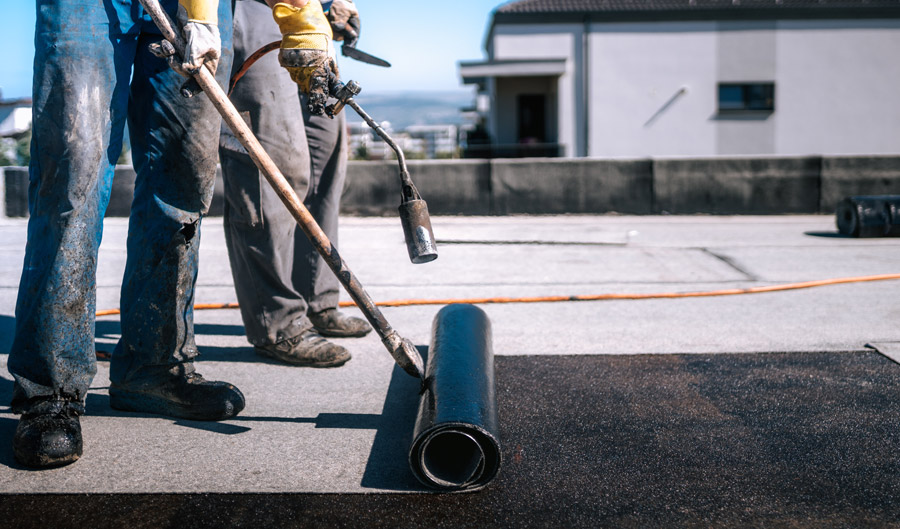
This layer, often a waterproof membrane or a specialized underlayment, provides an extra line of defense against water penetration. It’s particularly important in areas prone to heavy rain or snow.
This water repellent layer works by catching any water that may get past the shingles, directing it away from the roof structure. Its installation should be done by a trusted, professional roofing contractor to ensure complete coverage and proper integration with the rest of the roofing system.
Contact LOA Construction for Roof Waterproofing Services
While some roof waterproofing steps can be straightforward enough for homeowners or anyone who is a DIYer, some waterproofing tasks need to be handled by an expert. LOA Construction has the skills to waterproof an asphalt, metal, clay tile, slate, TPO, EPDM, and other roof.
For residents in the Austin, Houston, and San Antonio areas, LOA Construction is a trusted resource of quality roof waterproofing services. With years of experience and a dedicated team, our roofing team ensures that your roof is not only waterproofed, but also equipped to handle the challenges posed by local weather conditions.
Effective roof waterproofing involves a series of steps. From regular maintenance to professional services, each action you or your roofing company takes contributes significantly to the longevity and effectiveness of your roof. Remember, a well-maintained, waterproofed roof is key to ensuring the safety and comfort of your home.
Need a roof estimate? Contact LOA Construction for waterproofing services in Austin, Houston, San Antonio, and Belton, Temple, & Killeen today!
Request an AppointmentFurther Reading:
- • How to Find The Best Company to Help With Your Emergency Roof Repair
- • How to Avoid Common Roofing Mistakes
- • 5 Essential Roof Repair Tips for Austin Property Owners
- • What Happens at a Roof Inspection?
- • What to Know Before Getting Your Roofing Repair in Austin
- • What Questions Do I Need to Ask My Insurance Provider About Replacing My Roof?
- • What Does a Roof Leak Repair Cost?: How To Get The Most Out of Your Money
- • Need An Emergency Roof Fix?
